How to use Chainswap
Use Chainswap, a bridge aggregator, to effortlessly transfer NFTs across various chains by connecting your wallet, selecting the asset and networks, choosing a bridge, and confirming the transaction.
Use Chainswap, a bridge aggregator, to effortlessly transfer NFTs across various chains by connecting your wallet, selecting the asset and networks, choosing a bridge, and confirming the transaction.
This article is authored by an independent contributor.
smolloop
Share
Chainswap is a bridge aggregator that can save you the hassle of researching various bridge solutions to find the best one. With Chainswap, you can find and compare various bridges directly on the dApp instead of having to do it manually. Usually, people prefer to use bridges that are affordable and have low slippage rates.
In this tutorial, we’ll learn how to use Chainswap to bridge your NFTs across various chains.
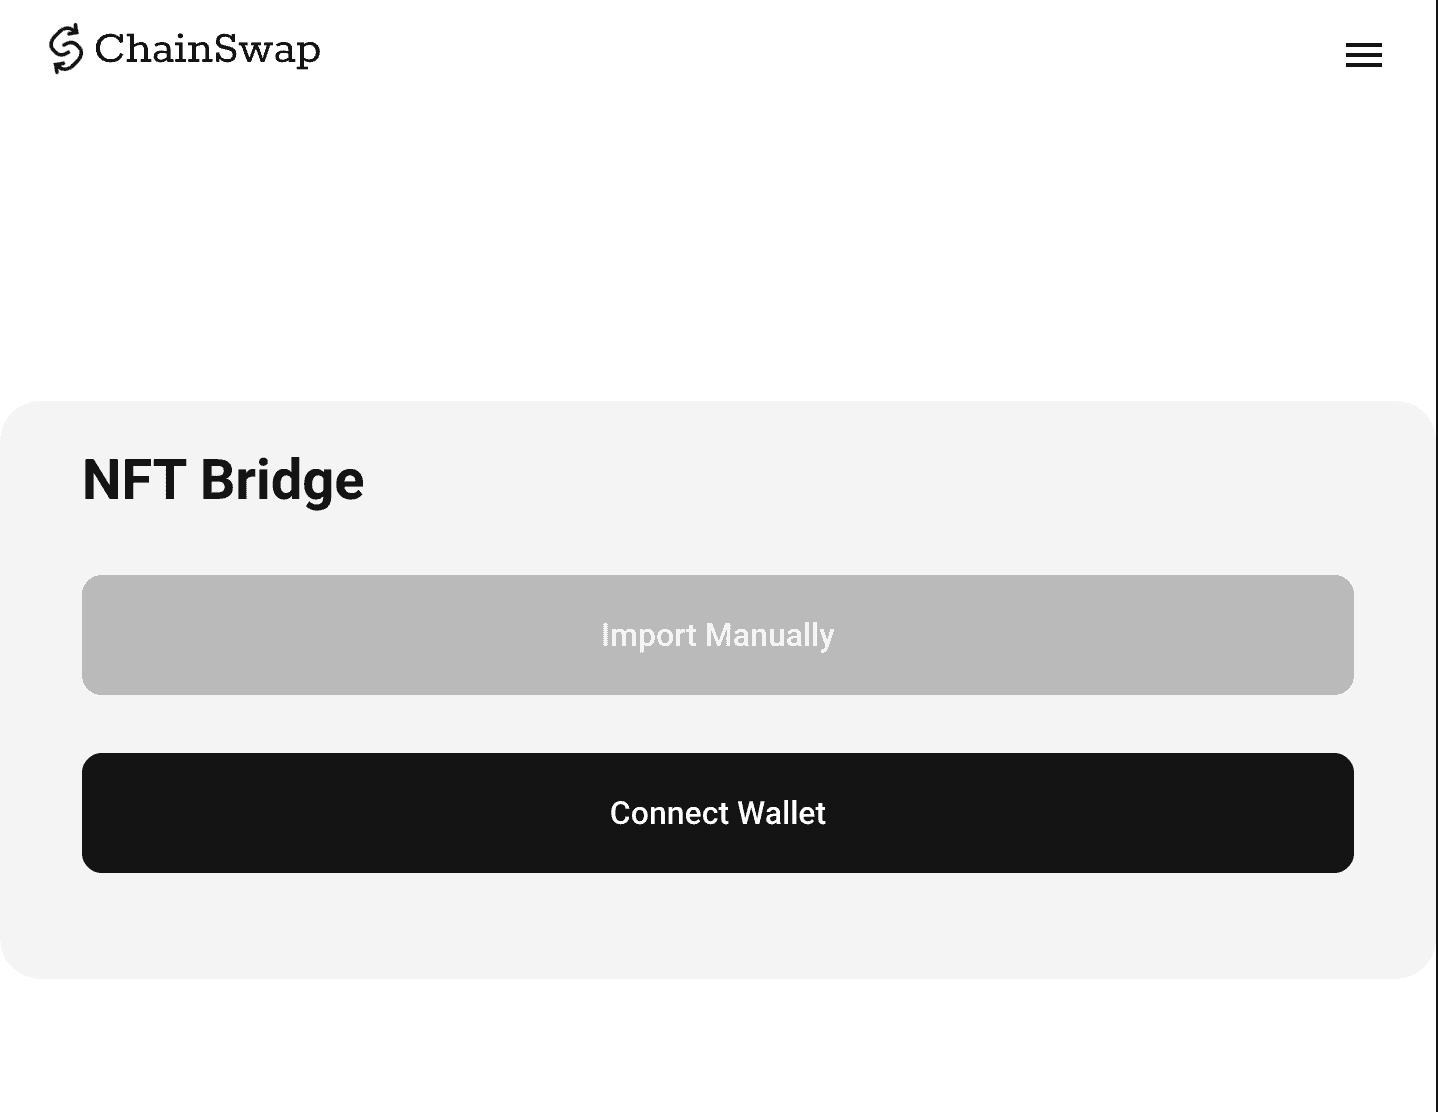
First things first, you need to connect your wallet. Visit https://nft.chainswap.com/#/ and click on ‘connect wallet’ given on the home screen.
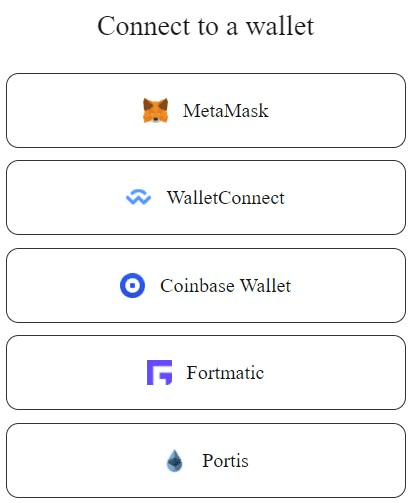
You’ll have the option to choose from various wallets including Metamask, WalletConnect, Coinbase Wallet, Portis, and Formatic. Pick the one you have your assets in.
Now, head over to the Bridge Aggregator tab. You’ll first have to select the asset that you want to transfer, along with the source and the destination network.
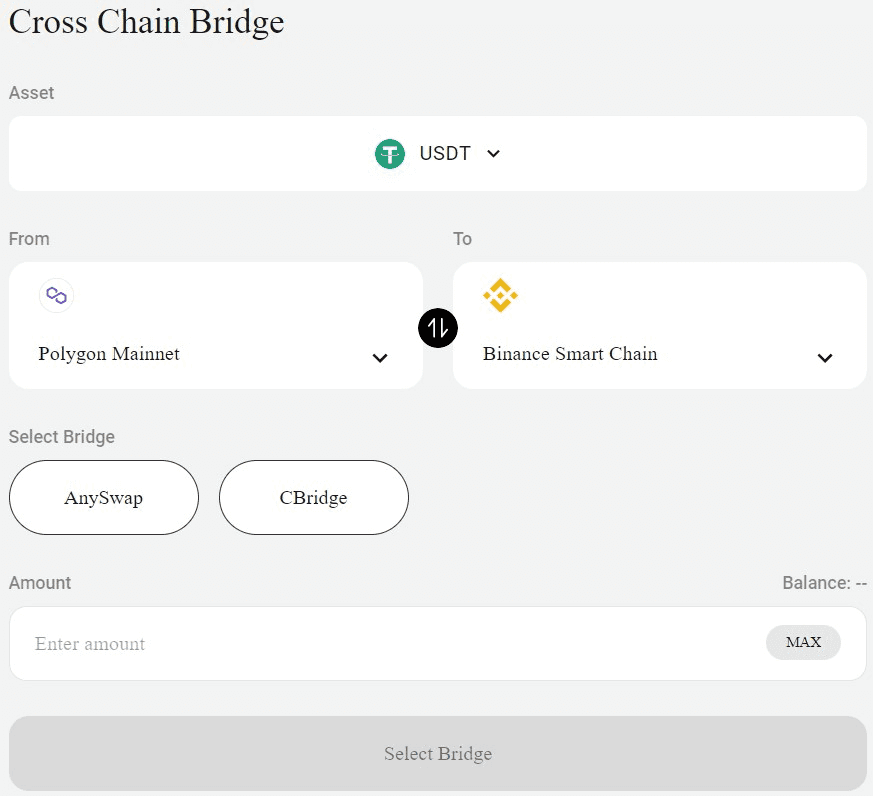
Note: If you see a ‘No Data’ message, it means that the bridge doesn’t have liquidity for the asset that you have chosen at that time. In that case, you may try again.
Once you’ve specified what you to transfer and where, it’s time to decide how, you’ll now need to select a bridge that you want to carry out this task. You can make the decision based on the maximum and minimum asset transfer values the given bridges have and how much their fees are.
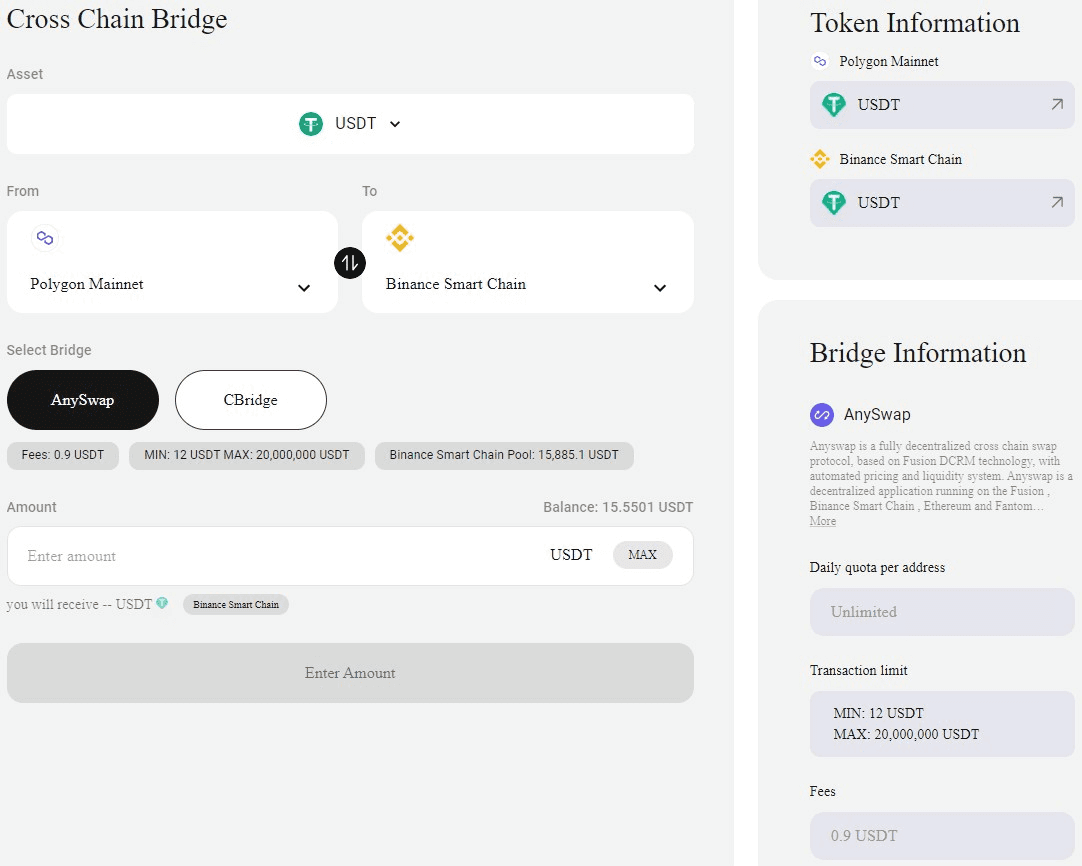
Pick a bridge and then enter the amount of assets that you want to transfer. The rest will be filled automatically. Now click confirm to initiate a transaction through your wallet.
Sign the transaction and confirm the last step by clicking on ‘confirm’ again. This will begin the actual transfer process of your assets. This can take some time depending on how busy the network is.
Once the transaction goes through, you can check your wallet for the transferred assets. Go to the Import Tokens section and add the contract address of the token manually.
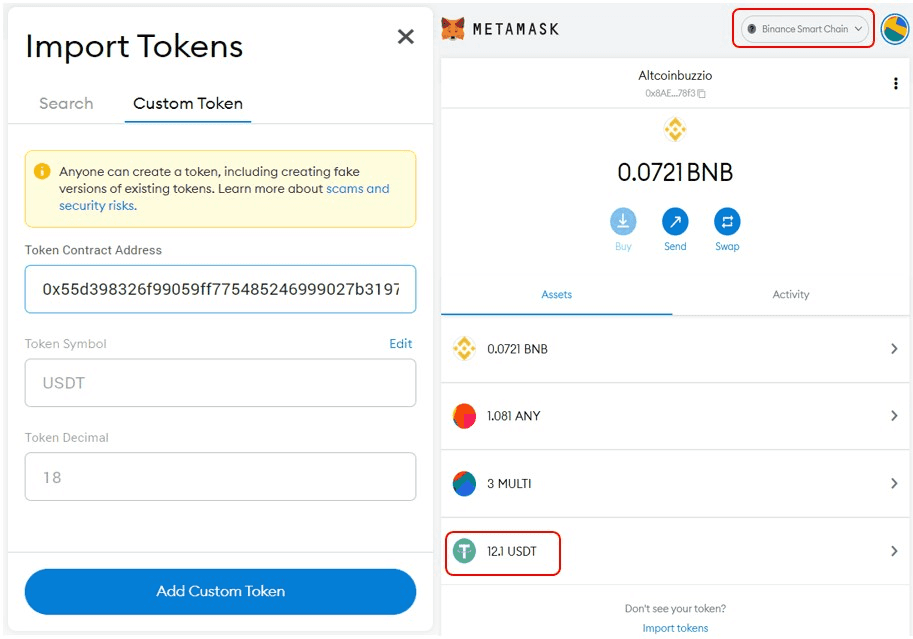
And that’s all you need to do to transfer your assets from one network to another. The transfer process is the same for all networks.
Doing it on Chainswap means you’ll get to bridge your assets permissionlessly and easily, without much extra effort of looking for a suitable bridge since it integrates all cross-chain bridge solutions in one place.
Recommended by Pluid
Tutorials
by SMooTH
Tutorials
Jul 23, 2025

Tutorials
by SMooTH
Tutorials
Aug 28, 2025

Tutorials
by SMooTH
Tutorials
Aug 2, 2025

Tutorials
by SMooTH
Tutorials
Sep 15, 2025
