Diving into the Nuances of NFTperp: A Guide
Prepare for NFTperp trading with essential details on gas fees, ETH, and WETH. Learn how to bridge assets to Arbitrum, navigate the trading platform, and make informed trades.
Prepare for NFTperp trading with essential details on gas fees, ETH, and WETH. Learn how to bridge assets to Arbitrum, navigate the trading platform, and make informed trades.
This article is authored by an independent contributor.
smolloop
Share
The Essentials: Gas Fees and Arbitrum
Before setting sail into the uncharted waters of NFTperp, bear in mind that you'll need a handful of ETH and WETH to foot the gas bill for your margin trading escapades. Now, should you ask, "What's this WETH?"—there's a [primer](https://academy.binance.com/en/articles/what-is-wrapped-ether-weth-and-how-to-wrap-it) that'll provide all the intel you need.
Transferring ETH to the Arbitrum blockchain for gas and other digital goodies is like crossing a technological drawbridge: you need to bridge your assets from a blockchain, say Ethereum, onto Arbitrum. The good news is, that Arbitrum is the discount shop of blockchain transactions—a tiny sum of USD in ETH can go a long, long way.
The Bridges to Arbitrum: Choose Your Path Wisely
Let's consider the Synapse protocol—ah, a sterling example. A glance at their interface will reveal a "Bridge Token" button. Tap it after choosing your asset and its amount, confirm with your wallet, and voila! Your assets should touch down on Arbitrum turf in the blink of an eye or maybe a minute if you're not in a hurry.
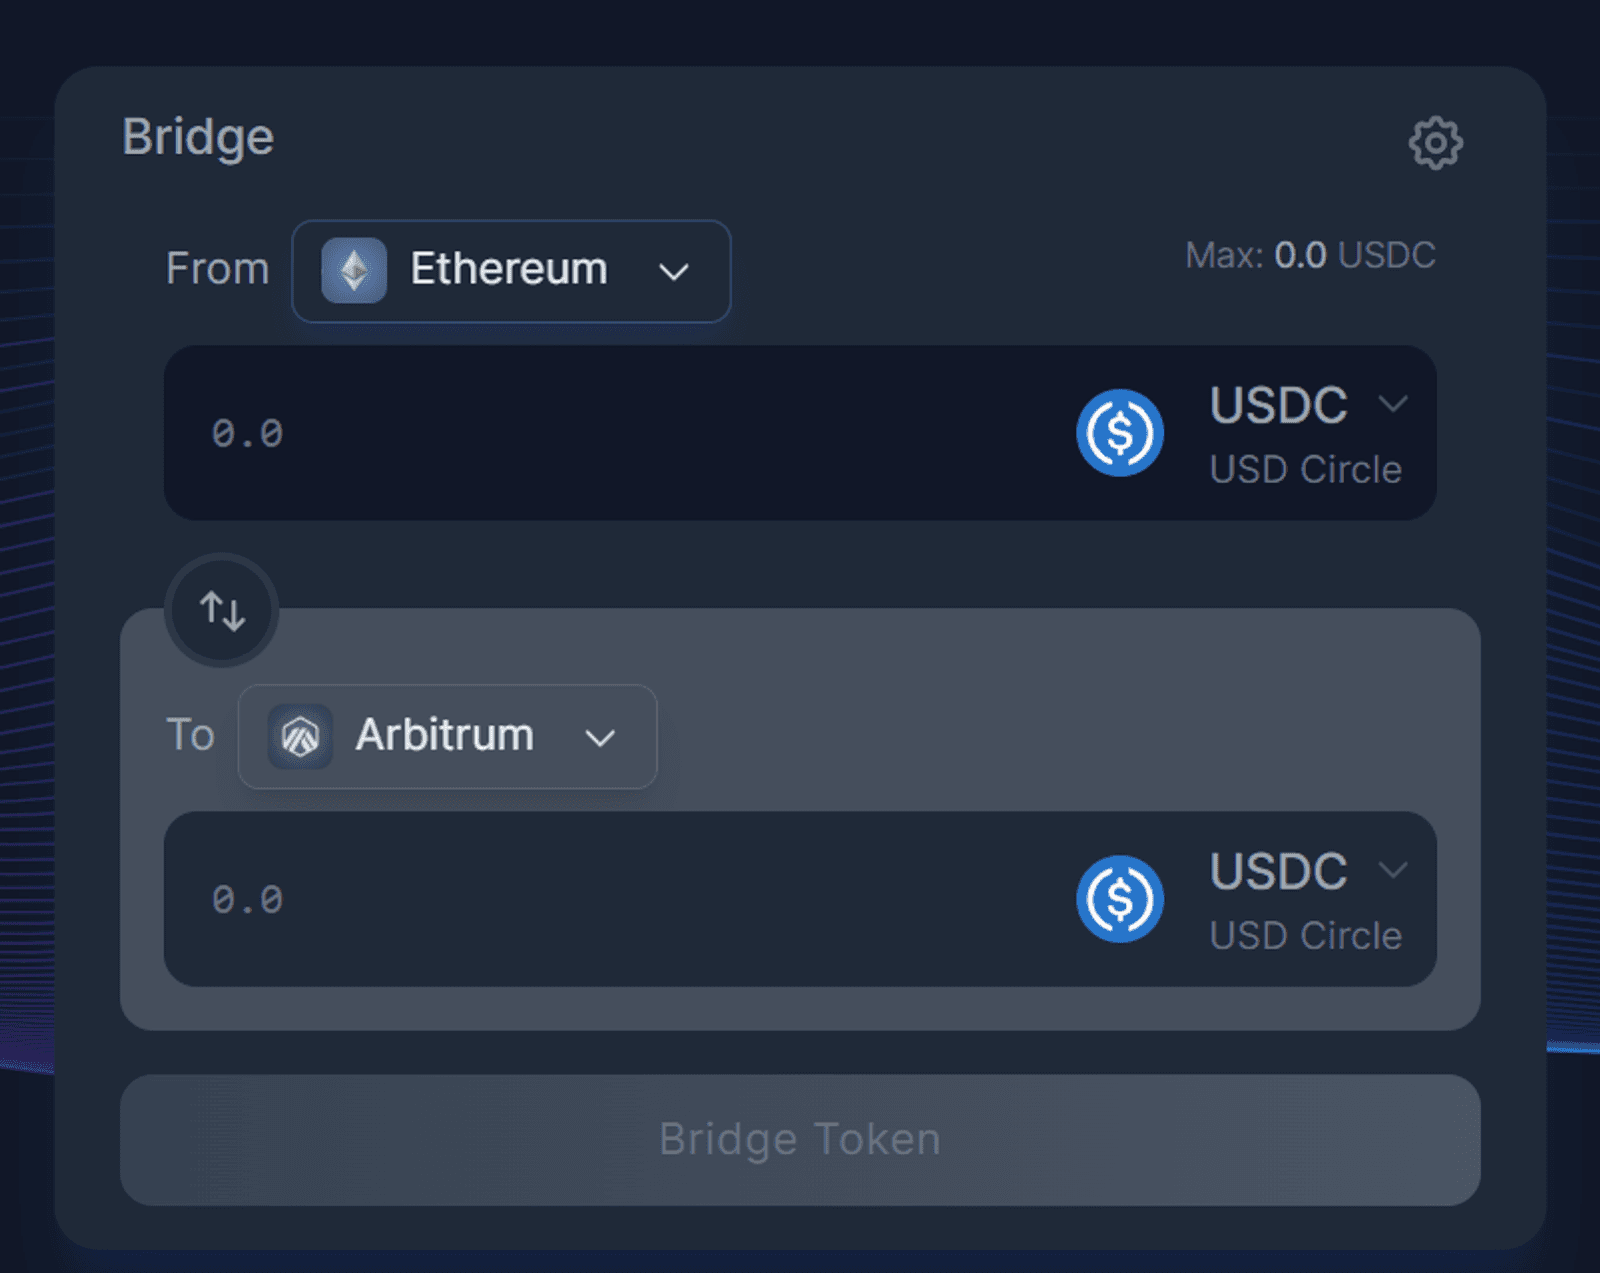
Not all bridges are built the same. Some support various tokens and chains, and we've gathered a few stalwarts in the Arbitrum universe for you:
Unveiling the NFTperp Trading Floor: A Step-by-Step Affair
To kickstart your NFTperp adventure, make a pit stop at their homepage, and then dive into the demo.
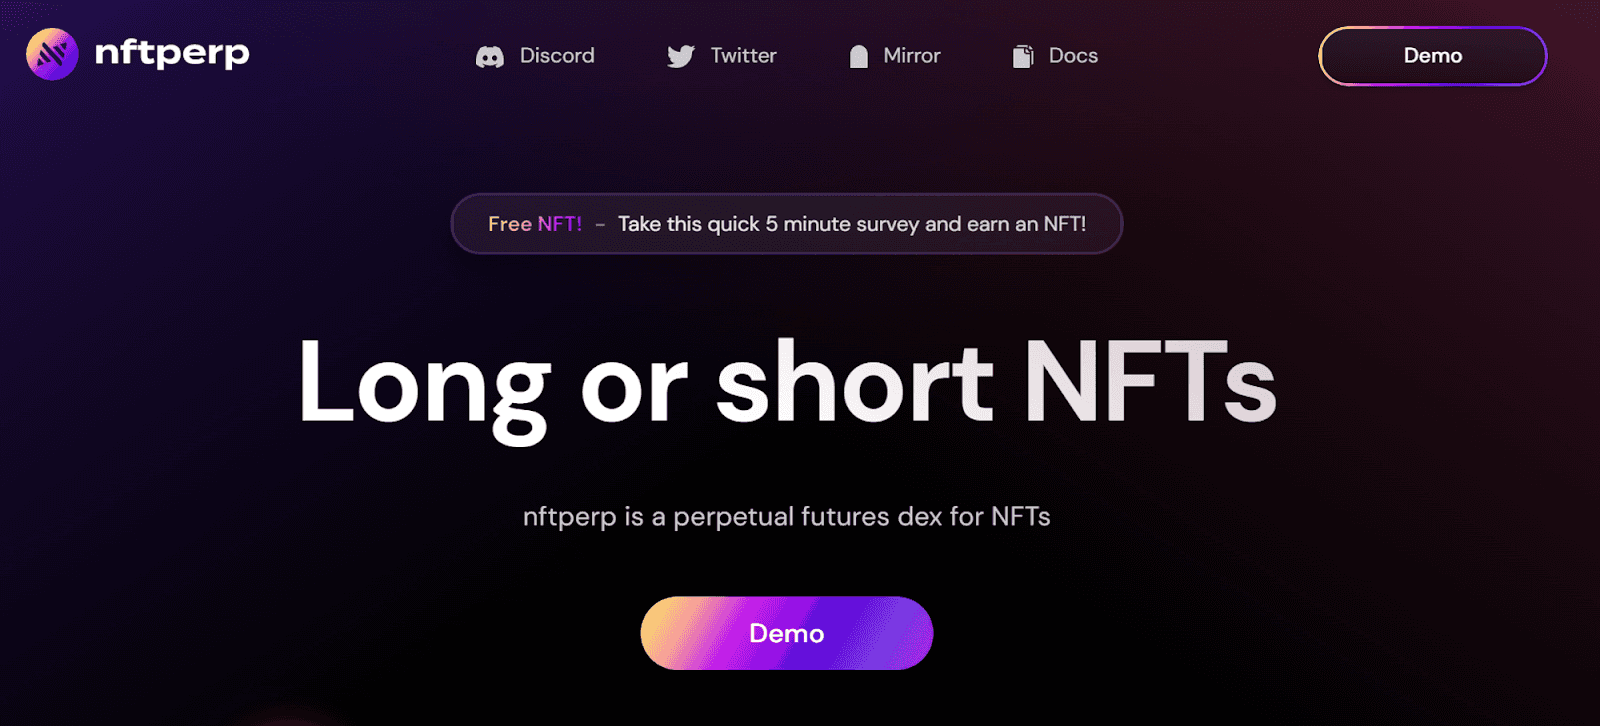
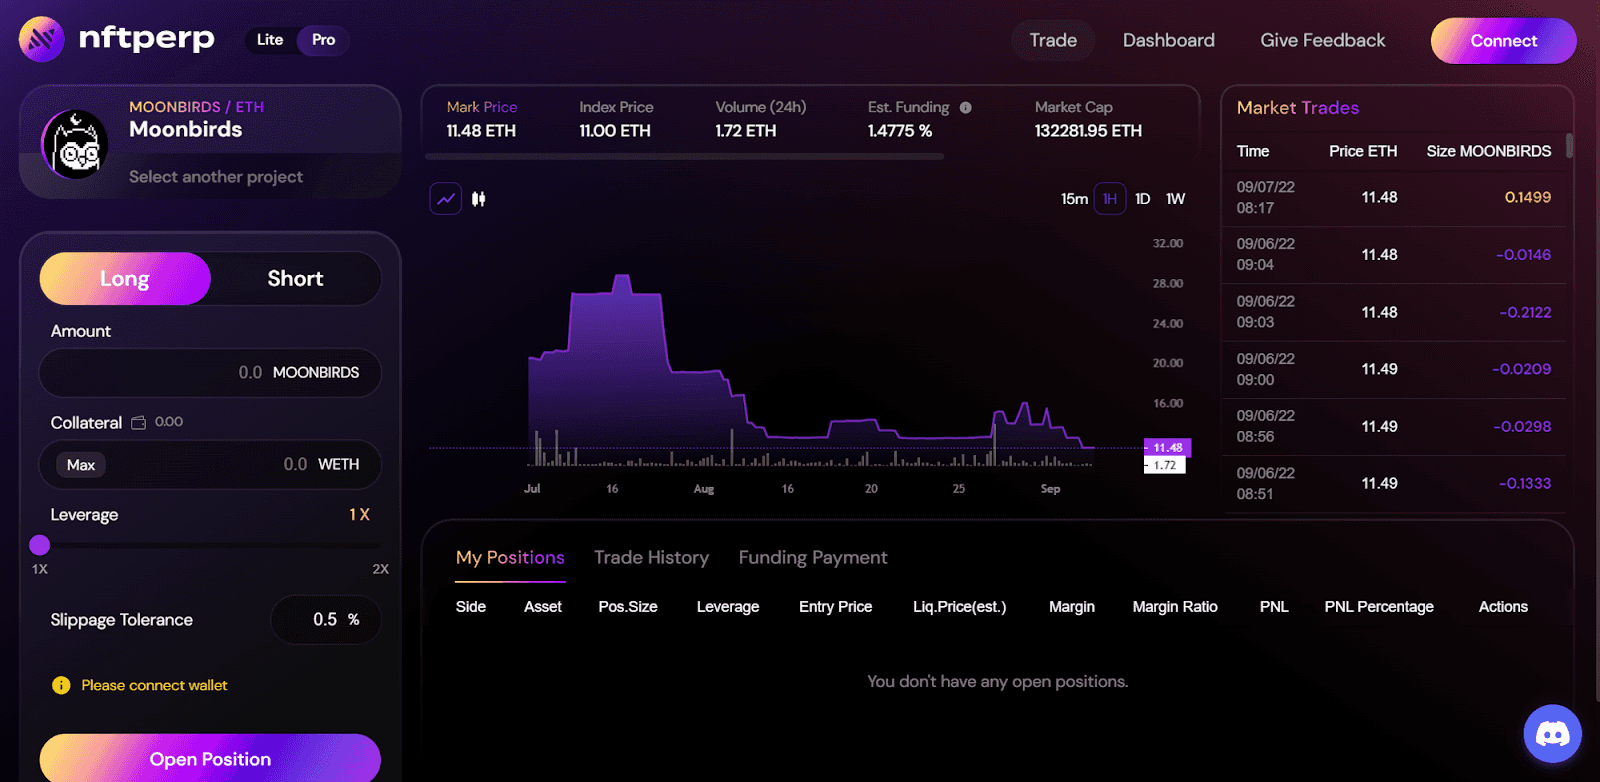
Now, you're in the thick of it—the trading page. Feel overwhelmed? Don't. We're unfurling this one fold at a time.
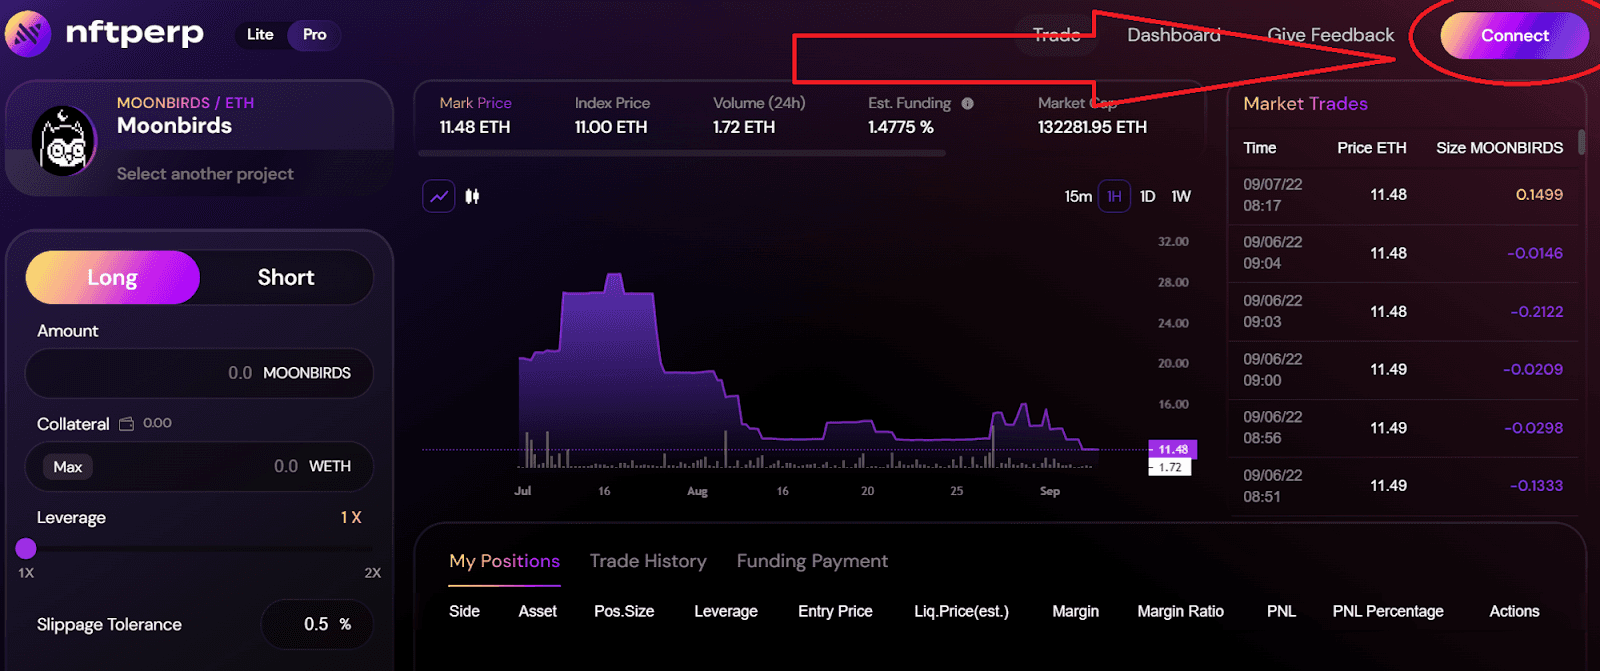
Phase 1: A Connection Forged
First, let Metamask do a little handshake with your wallet by clicking on the top right corner. Permissions granted? Excellent, you're all set.
Phase 2: Picking Your Poison
Navigate to the button that lets you select an NFT collection and make your pick. The world—or in this case, the collection—is your oyster.
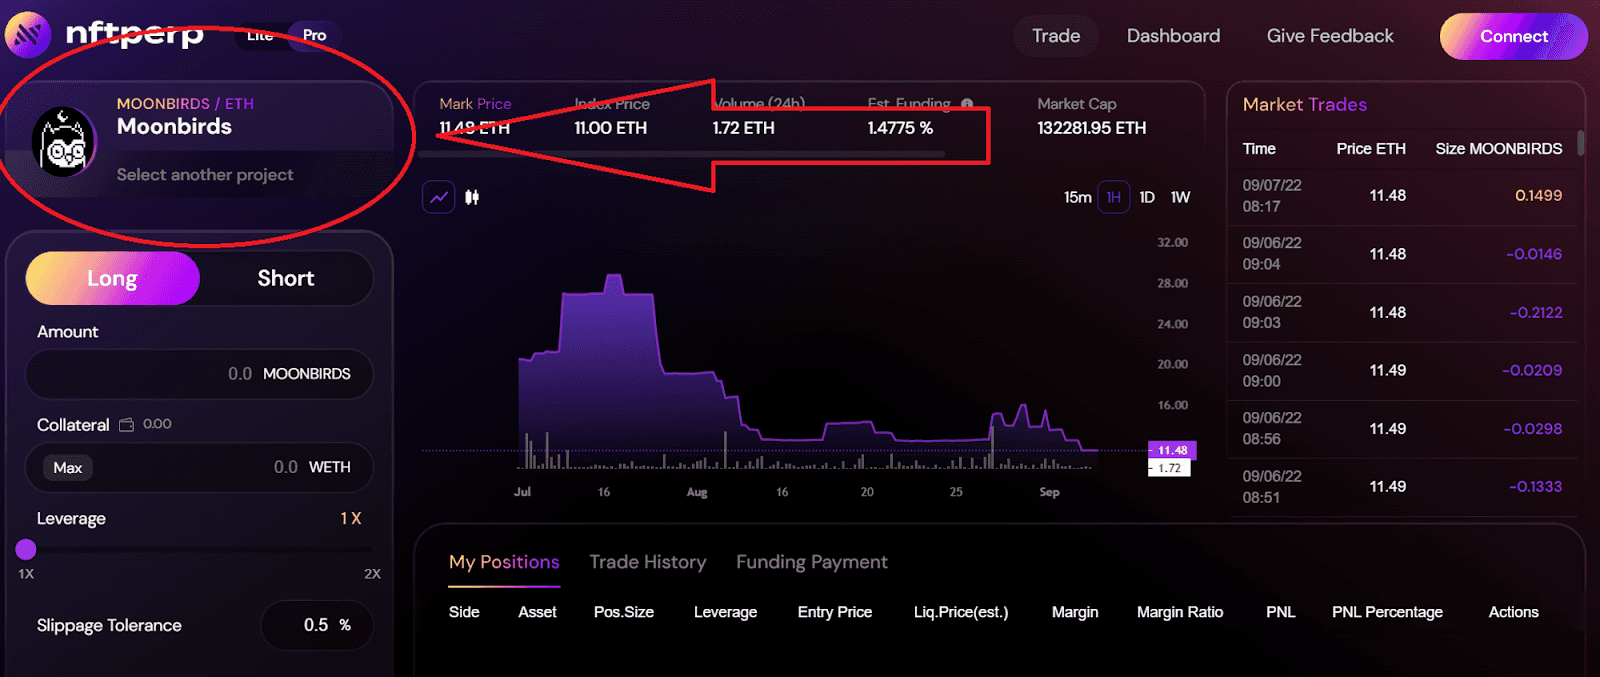
Phase 3: The Nitty-Gritty of Trades
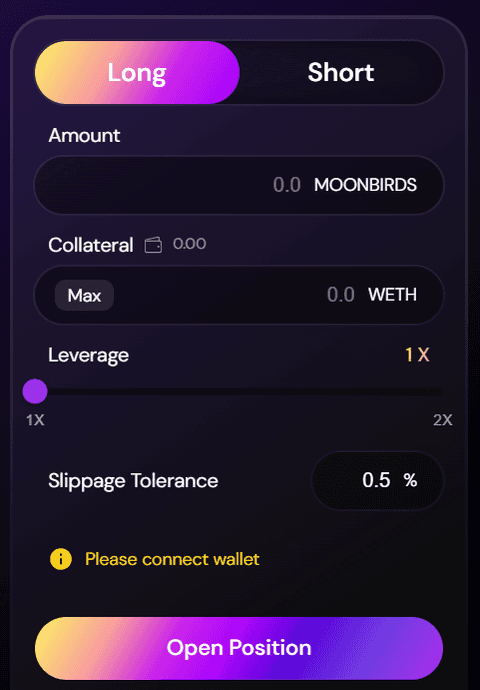
Once your collection is chosen, it's time to pull some levers—decide whether you're going long or short, how much of the NFT collection you're putting up, and the leverage you're eyeing.
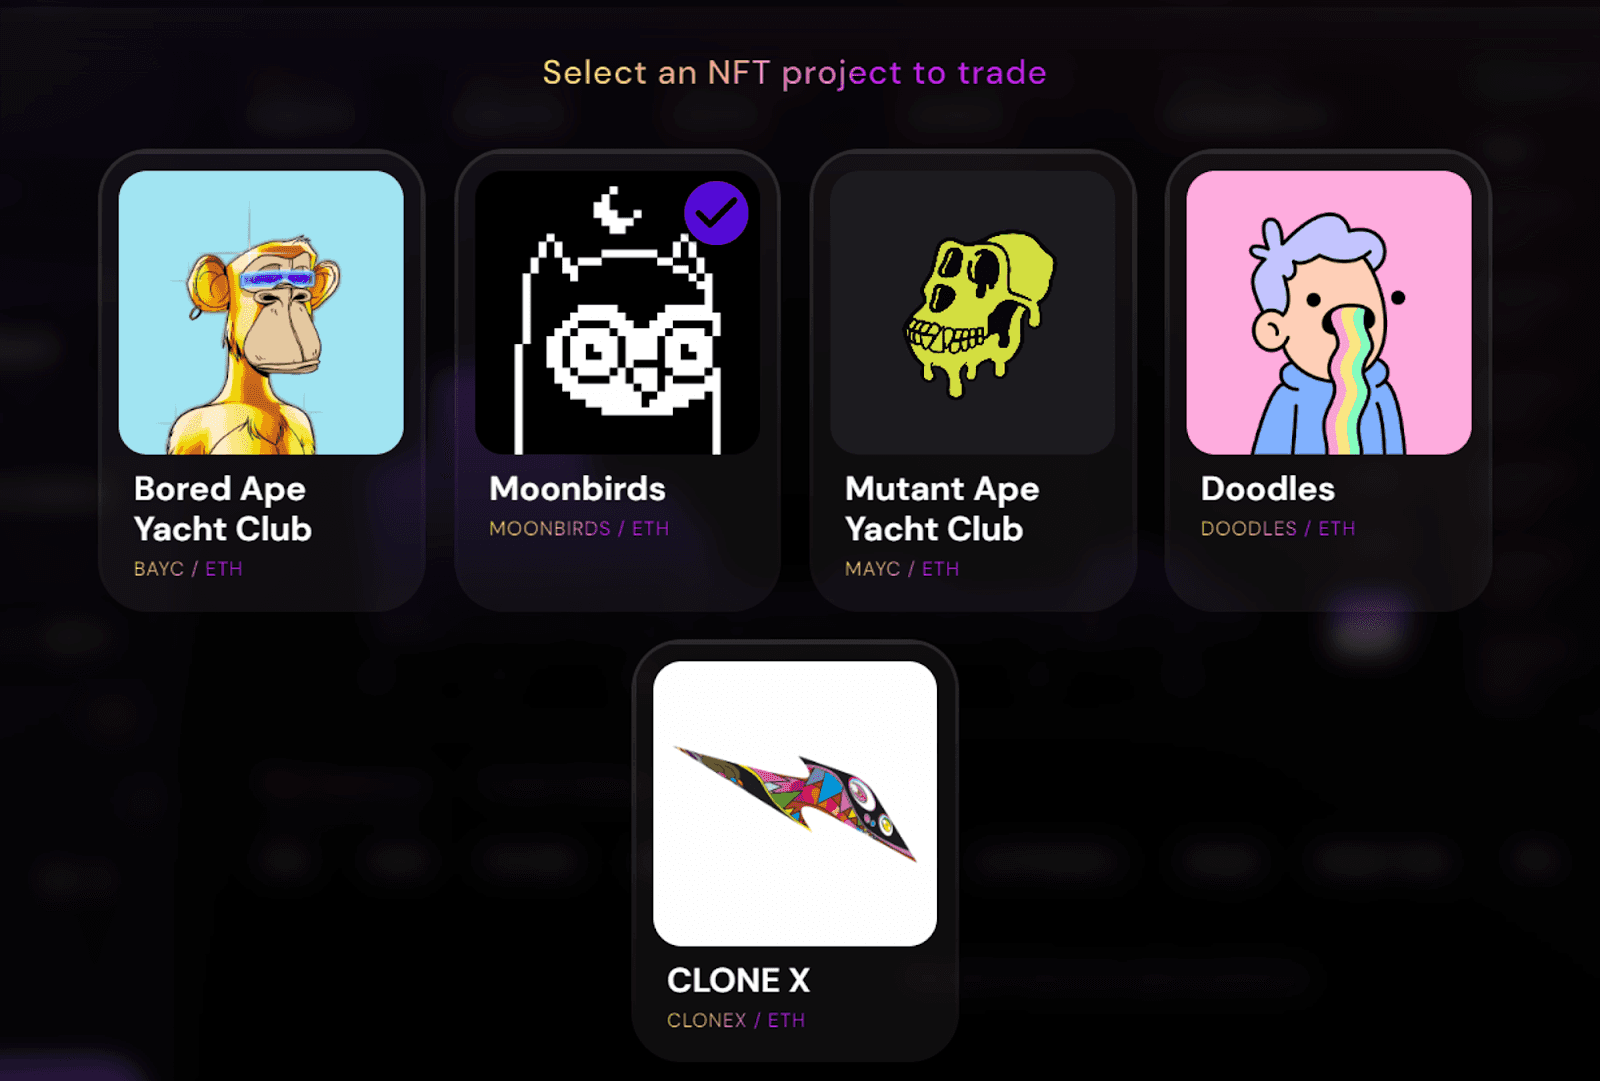
Phase 4: Market Dynamics and More
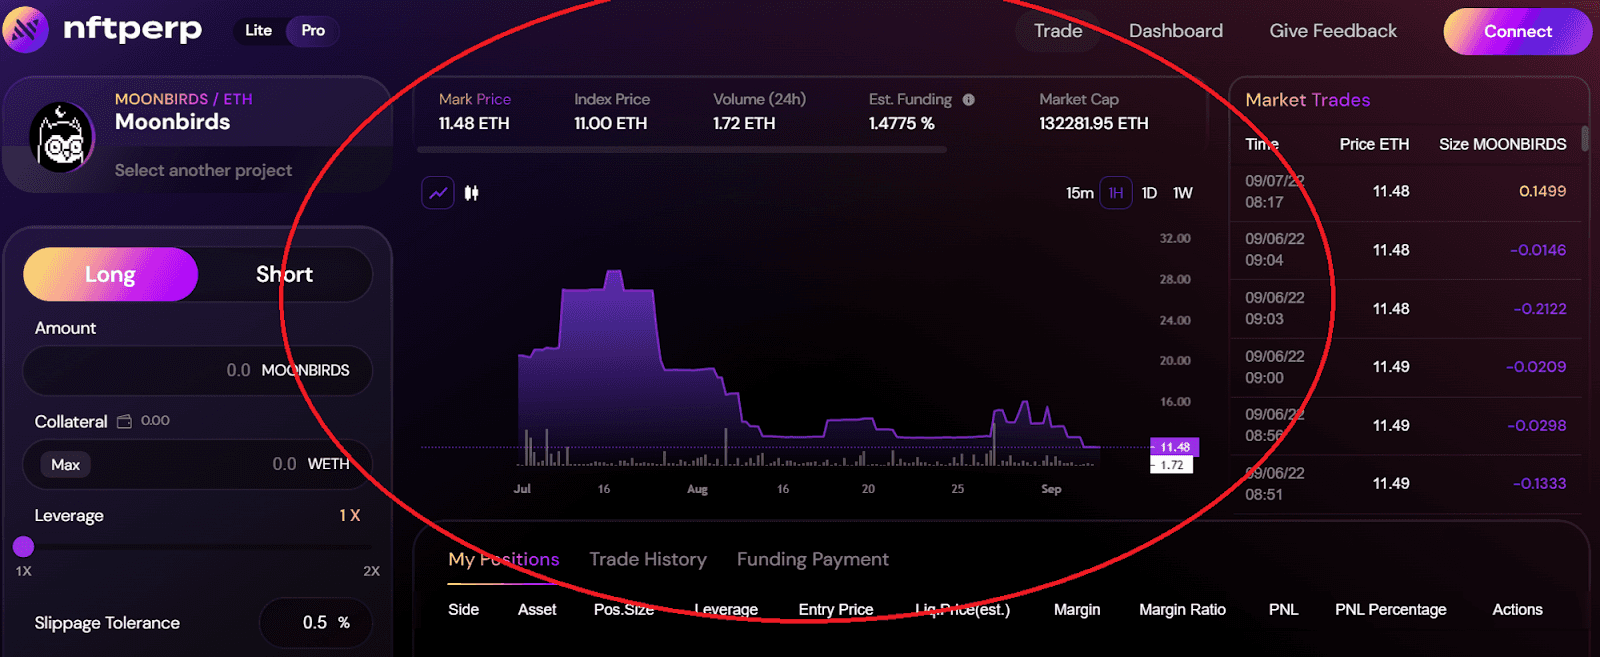
With your position in the market cemented, you can scrutinize elements like Mark Price, Index Price, 24-hour volume, funding rates, and the market cap of your chosen asset.
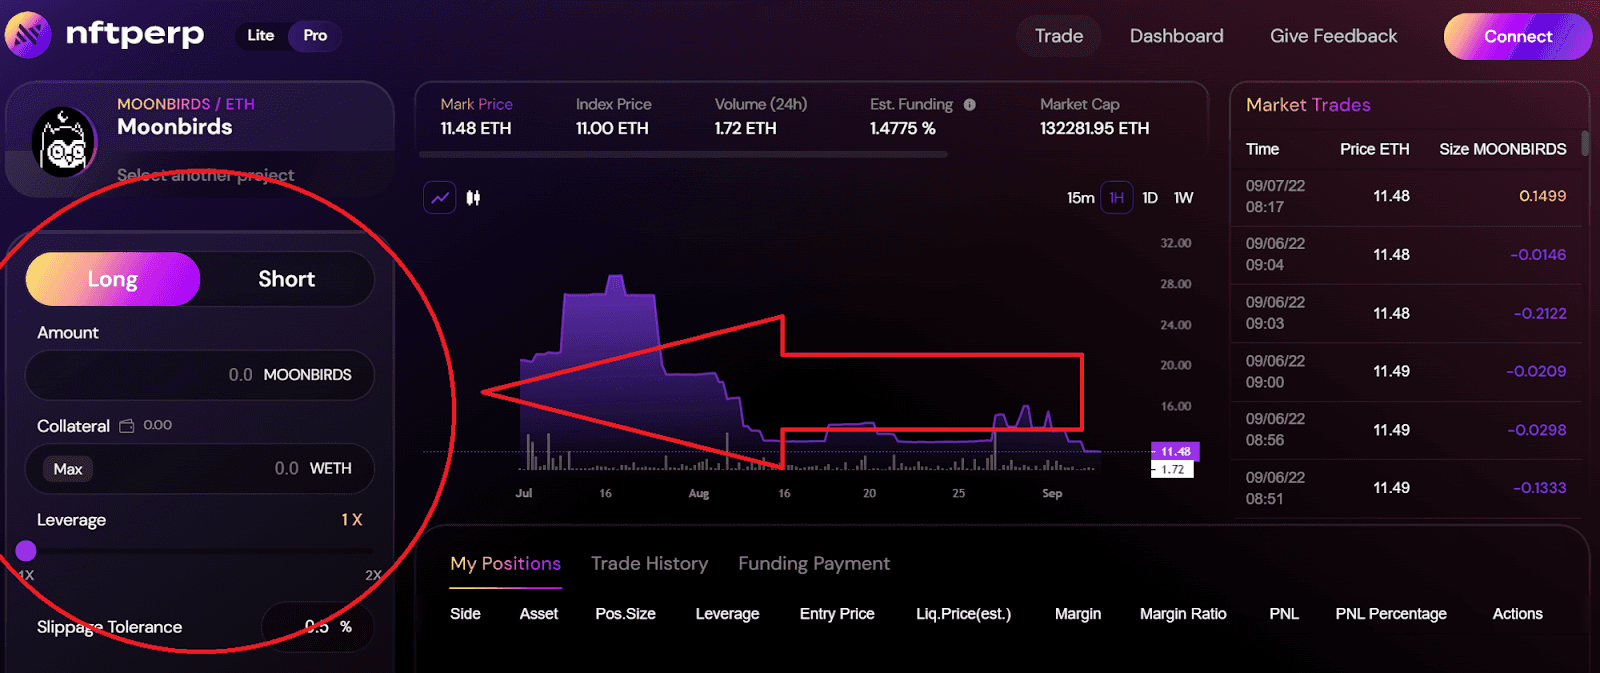
Phase 5: A Dashboard for Your Deeds
And for the cherry on top, you've got an interface showing your current positions, your trade history, and even your funding payments.
The Final Flourish
You've made it to the end. Now, grab the bull by the horns—or the NFTs by their pixels—and trade away, good frens!

Recommended by Pluid
Tutorials
by SMooTH
Tutorials
Jul 23, 2025

Tutorials
by SMooTH
Tutorials
Aug 28, 2025

Tutorials
by SMooTH
Tutorials
Aug 2, 2025

Tutorials
by SMooTH
Tutorials
Sep 15, 2025
